3.6.6. Playing with the devices in the dashboard
To let the simulated spectrometer and shutter act together we have to join them in an experiment. Start the dashboard, open the experiment manager and click the icon for generating a new experiment. Name it ‘absorption’ and add an actuator of type MockShutter and a detector of type MockSpectro. Your experiment definition should now look like
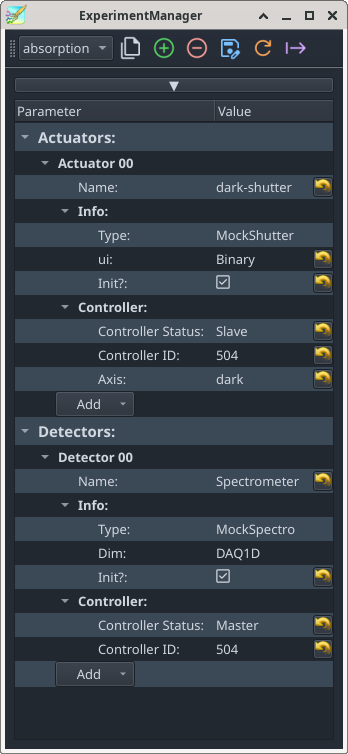
Note that all plugins starting with Mock are listed under the corresponding menu entry, regardless of what they actually control.
Change the values in the fields according to the above image. It is important that the actuator is marked as Slave and the detector as Master and that they share the same Controller ID (the actual number doesn’t matter at all).
Once you launch the experiment, your dashboard should present the dark shutter plugin GUI and the spectrometer plugin GUI.
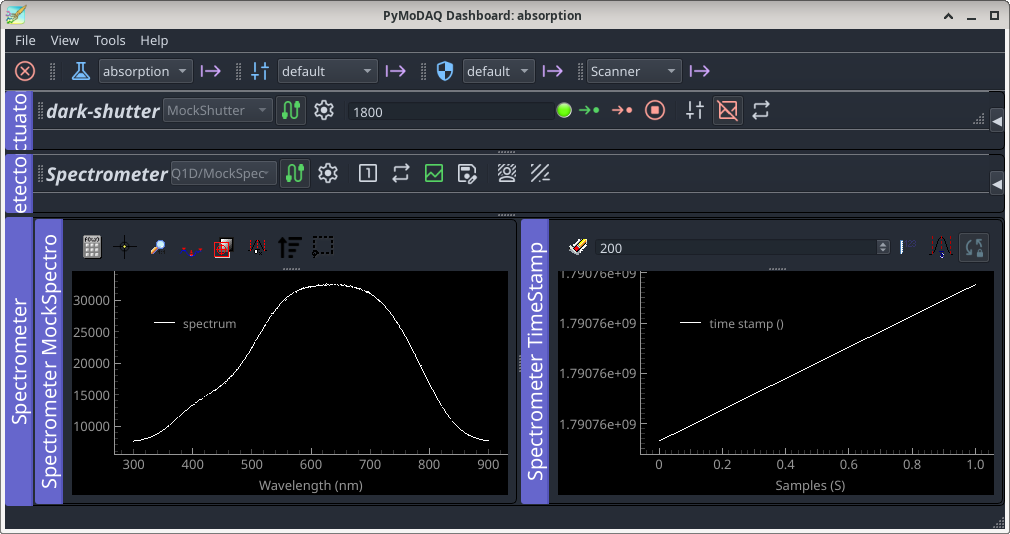
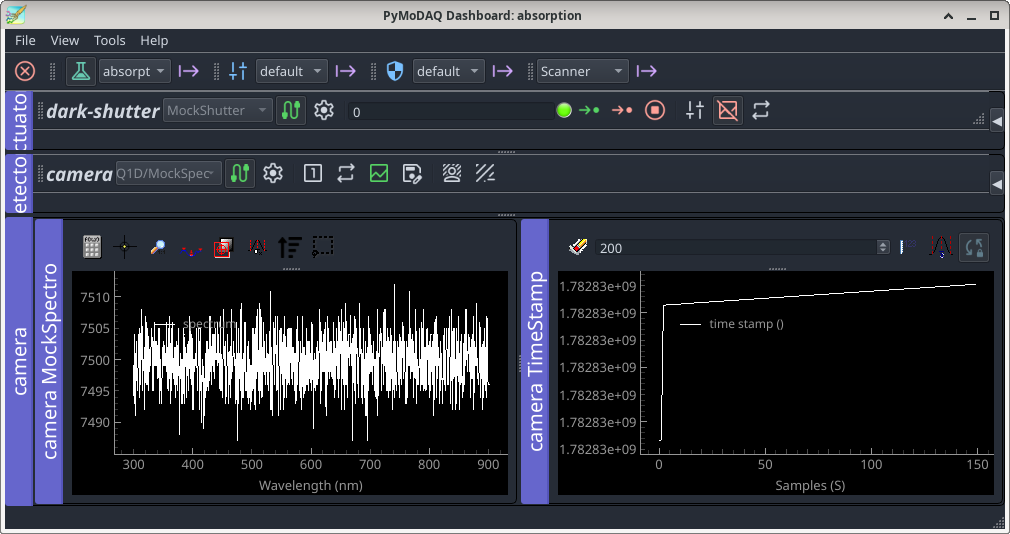
Enter a value larger than zero into the red value field of the shutter actuator, start continuous grabbing on the spectrometer and watch the displayed data switching between dark and illuminated signal as you click on the red and green arrows in the move’s GUI to open and close the virtual shutter.
Now that we have everything from the instrument side in place, it is time to start coding the spectrometer extension.